Cloud based distributed TLC
1 Motivation
- Move long running model checking off local machine into the cloud (Short running models not ideal because instance spin-up time is approximately five minutes)
- Maximize cloud instance resource utilization by providing fine-tuned TLC parameter pre-sets optimized for the given cloud instance type
- Minimizes costs by terminating cloud instances
immediately after TLC model checking has ended
- Unless email delivery of model checking result fails (n this case the machine remains running for the user to pick up the result manually)
- User then has to terminate the instance manually!
2 Warning
Using cloud based TLC launches compute instances at your
cloud provider which may incur costs. While the cloud based
distributed TLC tries to minimize costs by terminating
instances as soon as possible, do not rely on it. Always
check if cloud instances have been correctly terminated.
3 Limitation
- Only supports two cloud providers (Amazon EC2 and Microsoft
Azure) as of now
- On Azure, the VM instances just stoppes but does not deallocate automatically. Please make sure to manually shutdown the VM instance after TLC finishes.
- Runs TLC in non-distributed mode on a single cloud instance only as of now
- Only a single instance type per cloud (m4.2xlarge and D14) supported as of now
- Cloud based distributed TLC cannot recover from a checkpoint
4 Usage
Additionally to the instructions below, you can
watch a eight minutes
introductory video online.
- Set
AWS access key and secret as environment
variables prior to launching the Toolbox. See the
example with dummy keys below.
-
export AWS_ACCESS_KEY_ID=AKIA7D89HCLJKHZASD7F
export AWS_SECRET_ACCESS_KEY=6FDASAIG7DAS976TYDKHCGQAS5D\FA77
-
- Alternatively for Azure (assuming you already have
an Azure subscription), please follow
Use the portal to create an Azure AD application and
service principal that can access resources.
As Sign-on URL you can choose the TLA+ GitHub URL: https://github.com/tlaplus/tlaplus - Finally configure the Azure specific environment
variables as shown below for Command Prompt and
PowerShell.
## Called "Application ID" in the Azure manual
export AZURE_COMPUTE_SERVICE_PRINCIPAL=TheAzureApplicationID
## Called "Value" in the Azure manual
export AZURE_COMPUTE_SERVICE_PRINCIPAL_PASSWORD=TheAzureApplicationKeyValue
## Called "Directory ID" in the Azure manual
export AZURE_COMPUTE_TENANT=TheAzureDirectoryId

## The "Subscription ID" shown in the overview section of "Cost Management + Billing" in Azure Portal
export AZURE_COMPUTE_SUBSCRIPTION=YourAzureSubscriptionId
- On Windows in the Command Prompt, set the
environment variable with:
set AZURE_COMPUTE_SERVICE_PRINCIPAL=TheAzureApplicationID
set AZURE_COMPUTE_SERVICE_PRINCIPAL_PASSWORD=TheAzureApplicationKey
set AZURE_COMPUTE_TENANT=TheAzureDirectoryId
set AZURE_COMPUTE_SUBSCRIPTION=YourAzureSubscriptionId
If you prefer PowerShell, do (notice the quotes):$env:AZURE_COMPUTE_SERVICE_PRINCIPAL="ThePasswordUsedForTheCertificate" $env:AZURE_COMPUTE_SERVICE_PRINCIPAL_PASSWORD="TheAzureApplicationKey" $env:AZURE_COMPUTE_TENANT="TheAzureDirectoryId" $env:AZURE_COMPUTE_SUBSCRIPTION="YourAzureSubscriptionId"To set the variables permanently, use the setx command.DO NOT use Cygwin shell to set the environment variables and launch the Toolbox. It will lead to obscure exceptions at runtime.
-
- Besides AWS and Azure, packet.net's
t1.small.x86 baremetal instances provide a budget
environment to run Cloud TLC.
## Called "API Key" in app.packet.net
export PACKET_NET_APIKEY=YourPacketNetAPIKey
## Called "Organization ID" in app.packet.net
export PACKET_NET_PROJECT_ID=YourOrganizationId
-
- Create a specification and a model
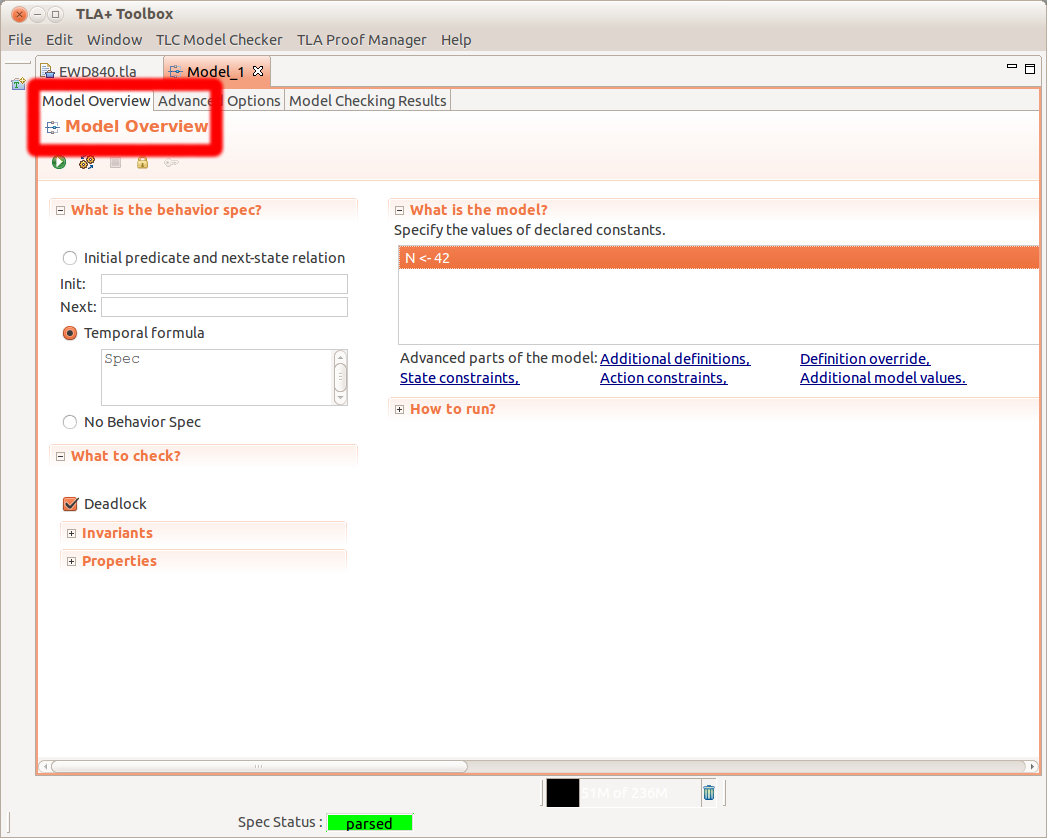
- Open your model in the model editor
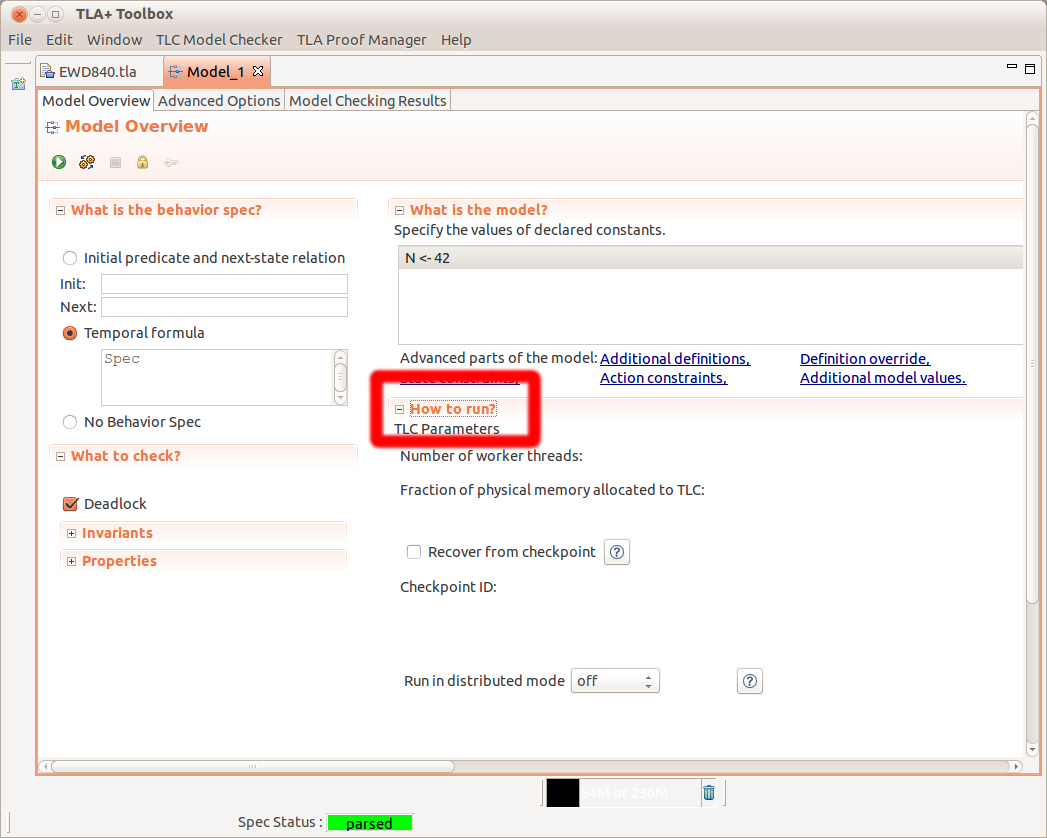
- Expand the “How to run” section of the “Model Overview” page
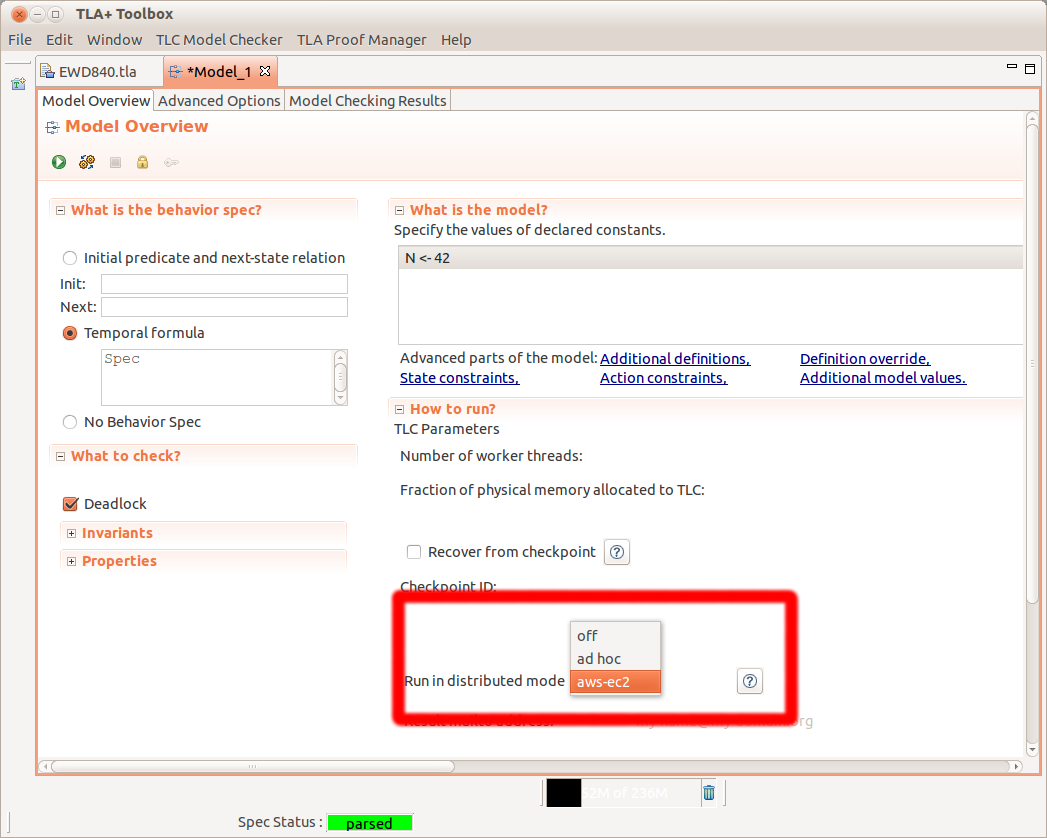
- Select “aws-ec2” from the “Run in distributed mode” drop down
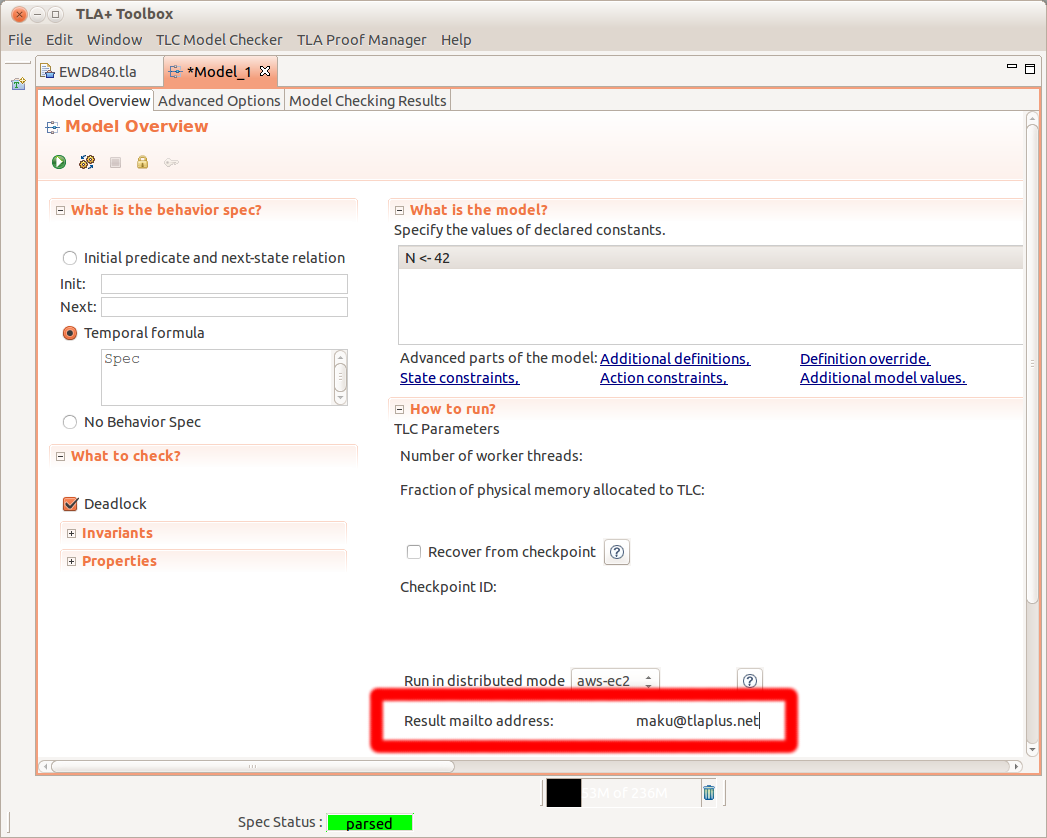
- Enter an email address into “Result mailto address” at which you want to receive the model checking result
- Click “Run TLC” to start model checking in the cloud and
wait for the start-up to finish (it takes approximately five
minutes to set-up the cloud instance)
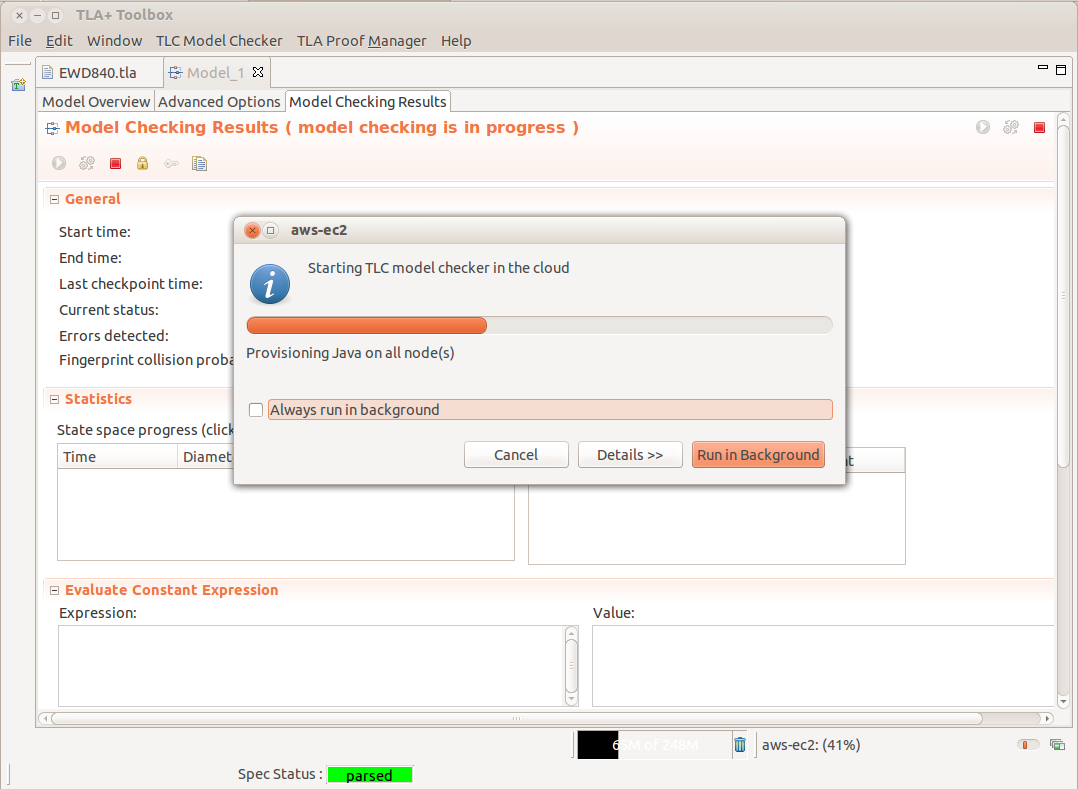
- The Toolbox switches to the “Model checking results” page and opens a progress dialog indicating the state of cloud instance provisioning
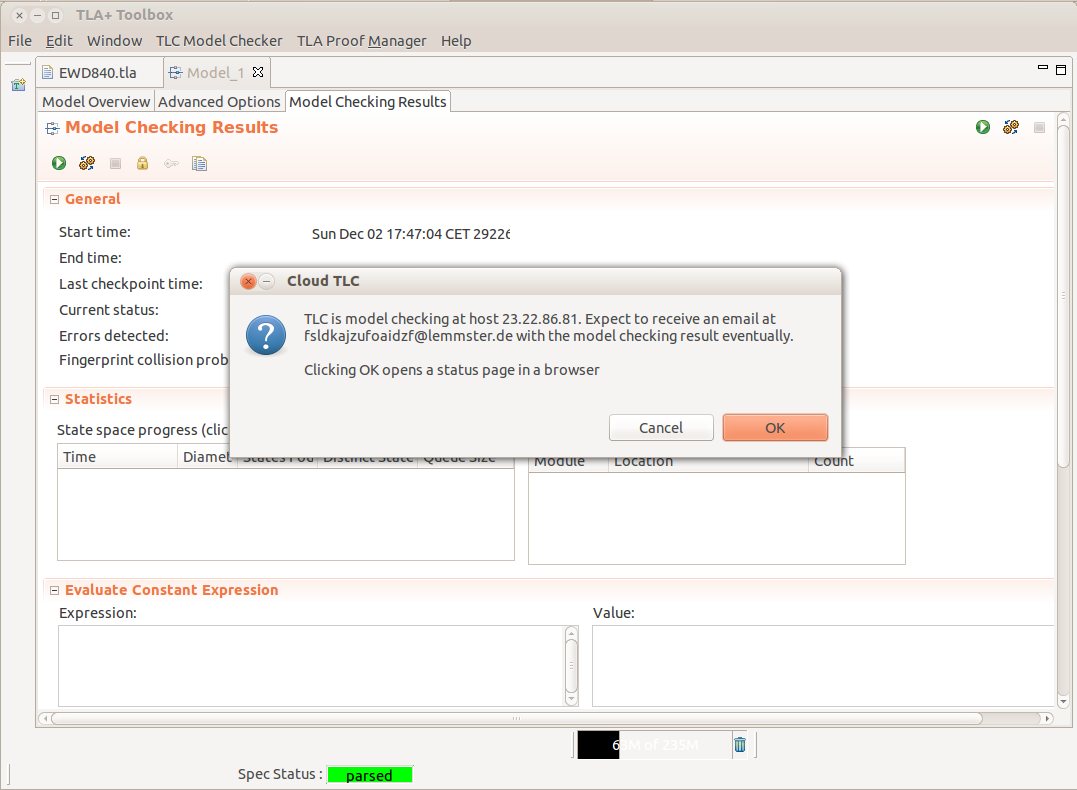
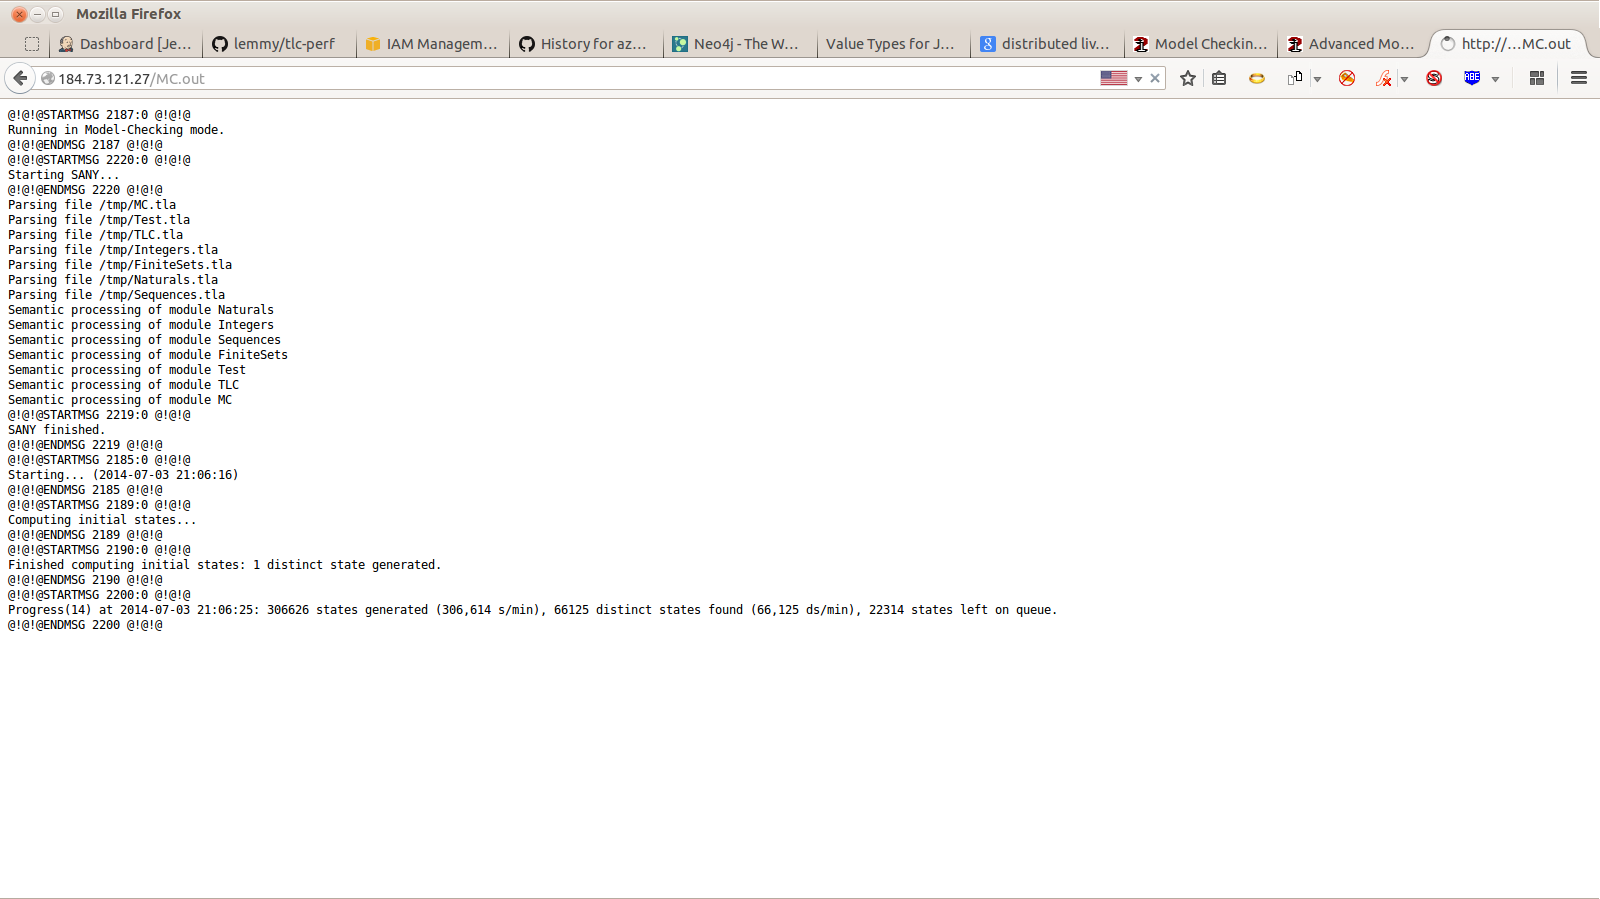
- After provisioning the cloud instance, the Toolbox prompts the user to open a website in a browser. This website is hosted on the cloud instance and shows the TLC process output as well as runtime statistics similar to Toolbox stats
- Walk out and enjoy the weekend while TLC is busy checking
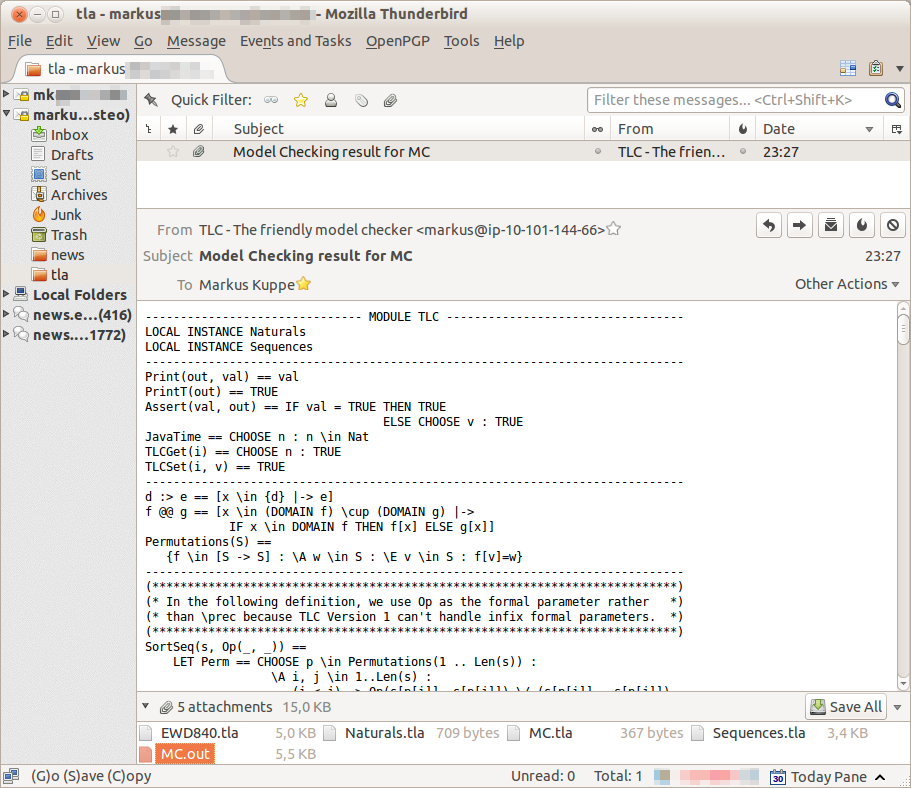
- On Monday expect to find an email in your inbox
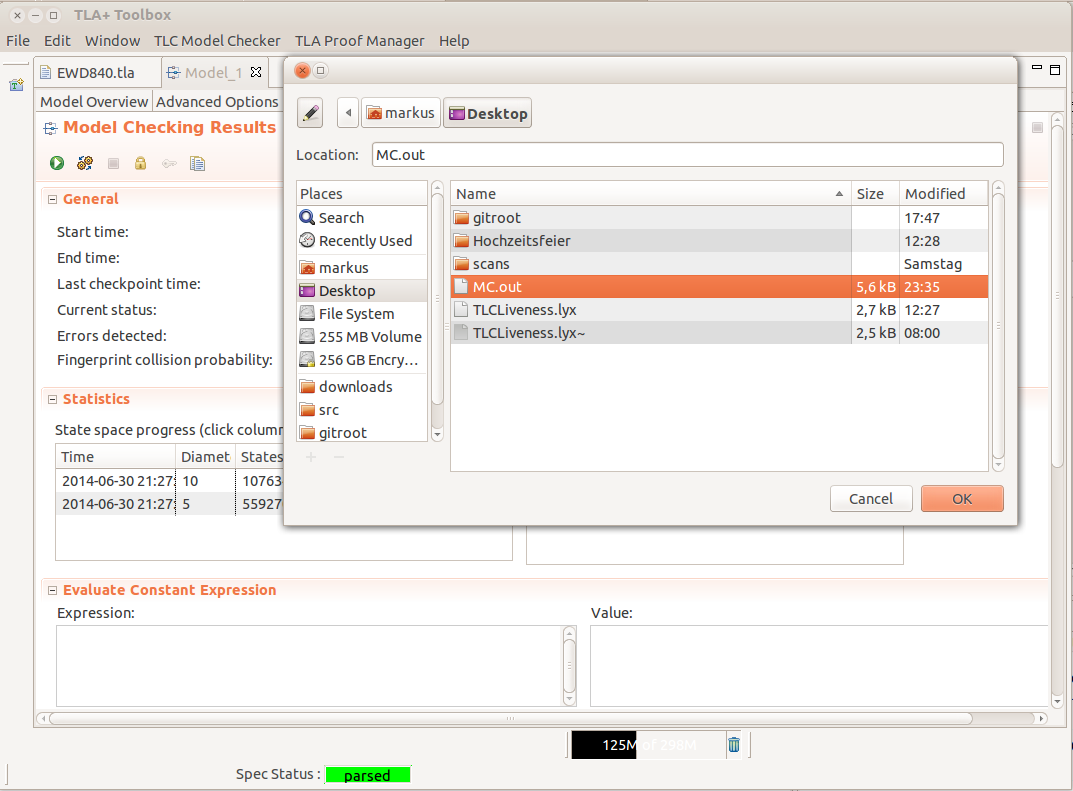
- Save MC.out file somewhere to disc
- Switch back to the Toolbox and open the model editor
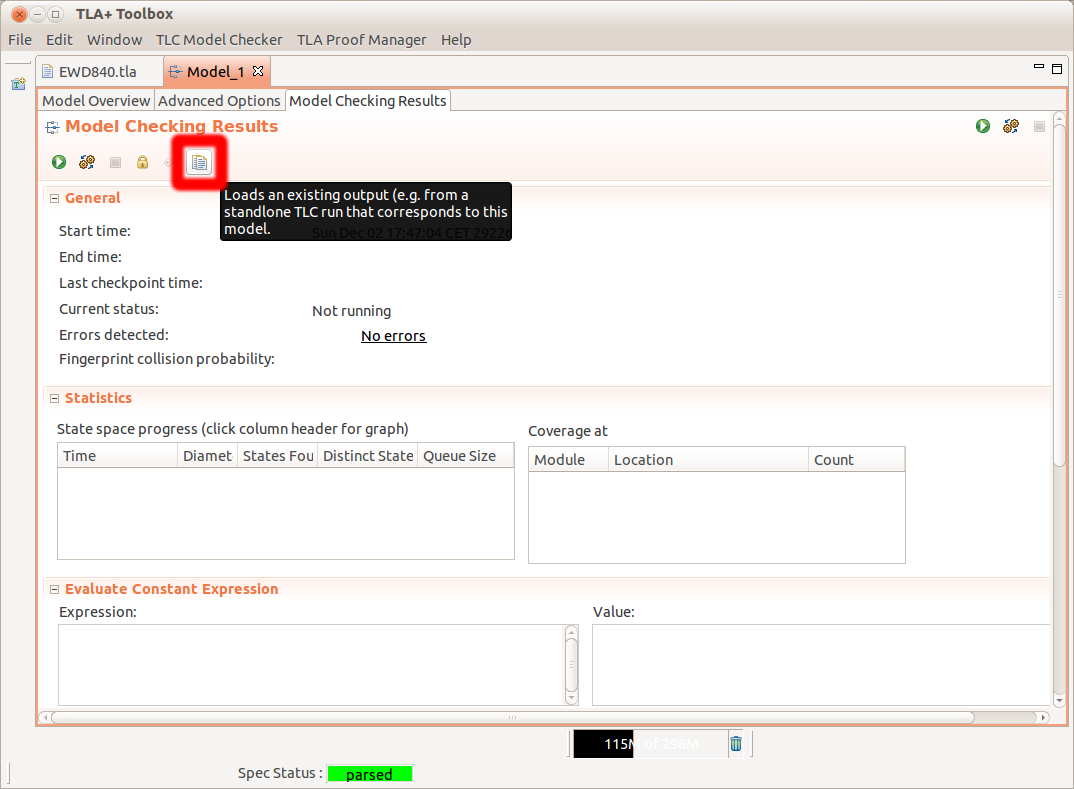
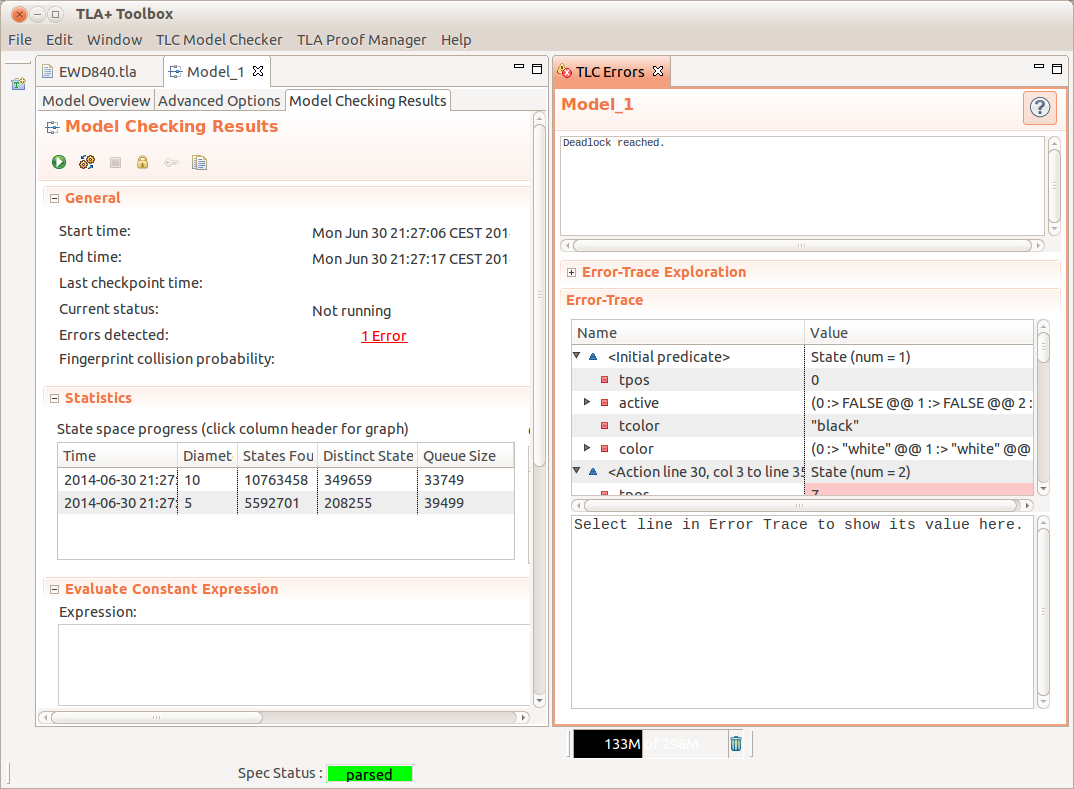
- Open the “Model Checking Results” page
- Import the MC.out from disc
- Voilá
5 Common problems
- The Toolbox fails to start the cloud instance
- Re-check your credentials
- If your credentials are correct, please turn on debug logging (start the Toolbox executable with "toolbox -console -consolelog") and send us the output. You might have encountered a bug in cloud based distributed TLC.
- The cloud instance sends "system notification" emails
warning that the remaining disc space is at a critical level:
"tlc :: tlc :: Disk usage in percent CRITICALs: / is 92.23..."- A long running TLC process writes unexplored states
to the system disk for later exploration. With very large
models, this can potentially use up all of the available
disk space. If this happens, TLC will crash. Thus, if you
received such a warning, please create a checkpoint,
attach a larger disk to your VM and continue TLC by
recovering from the checkpoint.
- Connect to the cloud instance with ssh
-
# Download a jmx commandline client wget http://crawler.archive.org/cmdline-jmxclient/cmdline-jmxclient-0.10.3.jar -
# Connect to the locally running TLC and have it create a checkpoint java -jar cmdline-jmxclient-0.10.3.jar - localhost:5400 tlc2.tool:type=ModelChecker checkpoint - Re-attach to the screen session running TLC and terminate TLC wth CTRL^C
-
# Restart TLC and have it recover from the checkpoint created
java -jar tla2tools.jar -recover /path/to/states/15-12-16-12-16-04/
- A long running TLC process writes unexplored states
to the system disk for later exploration. With very large
models, this can potentially use up all of the available
disk space. If this happens, TLC will crash. Thus, if you
received such a warning, please create a checkpoint,
attach a larger disk to your VM and continue TLC by
recovering from the checkpoint.
-
- The cloud instance sends "system notification" email
warnings directly after startup.
- Ignore these emails :-).
- This happens primarily on Azure when the monitoring runs too earlier before the cloud instance is fully started.
- The runtime statistics (web browser) indicate that
TLC has finished model checking, but no result is sent
via email.
- Check your email spam folder if the model checking result has incorrectly been classified as spam
- Another reason why mail delivery might fail, are too strict spam counter measures at the mail server level. You might want to try to use a different email address (domain part) in the future. For Azure, it works best to use an Outlook.com email address.
-
- Copy & paste the MC.out content from the browser window into a plain text file and load it from there (see 4↑)
- The cloud instance sends "system notification" email
warnings directly after startup.